Wednesday, September 9, 2015

Copper Sconce for Castle Shed Torch Lights

Wow! The design worked out great.


Remember the August 3 blog entry? I described the pattern making process from paper. There were 9 paper patterns and it was number 8 that I liked the most. It's been melding in my mind how to make it. My jewelry making skills are for small pieces of jewelry as in my MaDil Designs Etsy shop.


The skills and tools are a little different for something much larger. Finally I figured out the best way to make it out of copper sheeting.


Do we have a copper sconce or a patat frit holder?  Dutch hubby keeps calling it that. In the Netherlands french fries are served in a paper cone holder and he keeps drooling wanting a batch topped with the traditional mayonnaise on top.

It looks like a perfect torch light sconce to me. 


Now on to make the second one and mount them to the castle shed. They just may appear for sale in my Etsy shop for sale by next week as indoor electric sconce lighting. There are ideas rolling in my head.


Can you visualize them under the torch lights? The final decision will be to leave them shiny copper to age on their own or verdigris them as I did the roof finials and flags.

Saturday, September 5, 2015

Jones Serpentine Hand Crank Machine Base and Labor Day Weekend

What a gorgeous labor day weekend already. Last night we had a TGIF taco night for five neighbors that came over. There is nothing like a good soft taco, a little beer or wine, music in the background and friends you enjoy.

This afternoon we took a bike ride and now I'm sitting at the medieval table in my castle shed with the doors open and the sun setting. It's 84 degrees with only 20% humidity, very nice.


A few years ago I purchased a Jones Serpentine hand crank sewing machine, from about the year 1890. Some people call it the cat back. The feet have holes in the bottom and hubby made me a base with dowels to hold it in place. It's been unfinished wood for too long so I primed it a couple of days ago and will be adding a little teal color to the base so it won't be such a harsh contrast from the black sewing machine to white.


I grabbed a couple of containers with some mixed paint, one was green, the other blue. With a stir stick I pulled out a little of each into a small pie pan I use for mixing small amounts of paint. 


Since the paint has a little carpenter's chalk in it the drying time is about 10 minutes in the nice low humidity weather. The south turret where my painting station is at is perfect for afternoon projects with a little sun still coming in through the screens.


Quick as a snap it dried and I put the machine back in place, each foot over the protruding dowels.


Here it sits on my new medieval table before taking it back into the house.


The shadows are getting deeper.


Soon the solar lights inside the castle shed will come on and a little later the torch lights. Haven't made the light fixtures yet, sigh. Still lots to do but it has come a long way and has been a very enjoyable process.

Tuesday, August 25, 2015

Organizing the Castle Shed

Today was a productive day and my Alice in Wonderland inspired floor really stands out now that the shed is 80% organized.

First thing in the morning I wiped down the new medieval table to remove excess stain. Annie Sloan dark soft wax was next, scrubbed it in with the brush then buffed it well.


It stayed outside while a few things were done inside. First hubby hung the shelf cabinet using a French cleat system. He made it with two strips of wood cut on a bevel, one is mounted on the wall and the other on the back of the shelf cabinet. It can be lifted off easily, love that system. Here it is on the north side of the castle shed door.


It was quickly loaded up with votive glasses and lights.


Hubby cut lots of shelves and I mixed up my magic potion of paint, water and some carpenter chalk to whitewash them.


As quick as they dried he mounted the shelves and I loaded them up with all my smaller paint cans and mixes. This is the view to the south turret and the painting station. The cabinet below the work table is gone, there is more room to arrange the gallon cans of paint and the table bases project.


 Tools and painting apron hang between work table and paint shelves.


The south turret work station is ready for some planned projects. The center lazy Susan is for painting and making projects.


The back wall is for supplies.


The shelves on the left side of the shed have decor items and miscellaneous, still needs organizing. The north turret is not shown, still needs more organizing.


The floor was cleaned and my new medieval table is buffed and put back in place.


We're all set. The white rabbit and Alice in Wonderland may show up any day. "Drink Me" potion and a key are waiting.


Monday, August 24, 2015

Making a Medieval Table

For weeks I've been wanting a small table for my castle shed. I'm so happy to be rid of the white desk that was in the center, the style just didn't fit. I've been dreaming of a small rustic medieval style table, of course what is medieval and not too difficult so it can be done quickly. The time came several days ago when Jan had free time so I twitched my nose and rubbed my genie teapot. Voila!


It is made of reclaimed wood. The plan was to use a corbel pattern we made months ago. Jan cut all the corbels from a long thick piece of lumber that was warped and had cracks. The center is a used 4x4. The assembly had to be with a flat base that had to be notched so the cross pieces would be stable.


Testing the size, notice front piece is charmingly crooked.


The top corbels were smaller, lots of cracks.


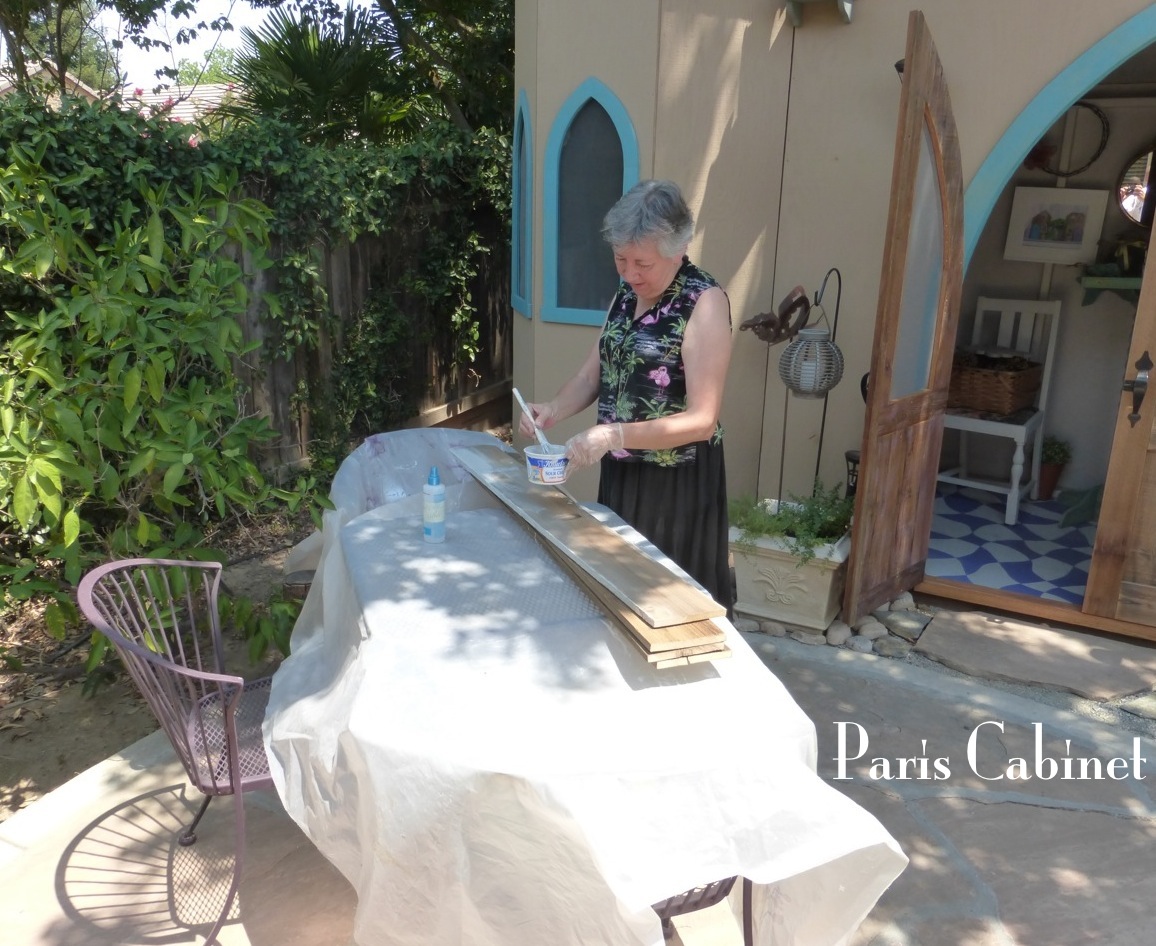
The table top was make from two layers of old fencing, glued, screwed together and clamped. The top is only 22 x 26 inches finished, just big enough for tea for two.


Look at all those screws! Hubby, the genie, is ready to chop the top to the correct height.


Now it's ready for me.


I had a can of dark walnut Howard Restor-a-Finish. There was no finish to restore, I just used it like a stain. 


Messy messy job.


Almost done.


Dirty and sweaty but had to test it. I wanted it lower than a standard table so I can write on my lap top. It's 27 inches high.


By the time the solar lights came on my genie was pooped, he had showered and crashed on the sofa. I had to take one last photo.

Guess where I will be at 6 a.m. with my laptop and a cup of tea.


Thursday, August 20, 2015

Mr. Froggy Training for Yo-Yo Competition


Mr. Froggy looks very content in his resting position. For days he's been practicing yo-yo tricks for a competition. He's hoping to earn enough money to go dancing in Paris by the Eiffel tower.


It is Jan's creative painting that has inspired him. The Eiffel Tower holding a wine bottle and glass dancing in the moon light is enough to drive a dancer wild. Mr. Froggy's eyes are set on his goal.


He's got the look of determination.

Monday, August 17, 2015

Lions Hold Coat of Arms and Crown Over Castle Shed

Amersfoort has a city emblem of lions holding the coat of arms and crown. My castle shed, inspired by the medieval city needed the same emblem. 

Left is a photo of the actual emblem on the Koppelpoort, water gate, it is about 2 to 3 feet wide. On the right is the drawing that hubby did to make it ten inches tall, in scale for our shed.


The crown is done in metallic gold paint.

 
 Wow! I love how it's coming out.


Still a little more to go.


All done and it's a fabulous little piece. We especially liked it sitting in a bookcase in the living room.


Here it is mounted above the door. It's made to fit the space but how I wish it was bigger. I put the bug in hubby's ear that if he made a larger one for the shed this one can go in the bookcase. Think he'll go for it?

Coat of arms now available at our Etsy shop here.

Monday, August 3, 2015

Garden Castle Solar Lights and Shelves

Little by little as we have time another project is planned or completed for the garden castle shed. The solar lights that have a slight torch look still need a decorative element that will be made of copper.

One day last week I pulled out yellow paper, pencil and scissors to create a paper pattern. Idea after idea and cut out after cut out just wasn't right. After idea number three I started numbering the paper patterns and made nine patterns. It was number eight that looks the best, here it is just taped to the wall.


Hubby got to work on shelves for the right side.


The recycled fencing shelves got a white washing with a mix of paint, water and carpenter's chalk dust.


Simple shelves are easy to move if things change, they just rest on the supports. As quickly as they dried they were loaded, to be organized later.


The white desk was moved out, couldn't stand the sticky drawers and just didn't want to deal with it. The plan is to have a small table that mounts to the studs, it will also be made of recycled fencing like the shelves and doors.


By evening, when the solar lights come on there is a nice glow. We still have many things to do, a shield like the Amersfoort water gate, maybe flags and it will need two gargoyles to match, he looks too lonely on the left all alone.